It’s been almost a year since I pulled out my trusty sewing machine and settled down with a new project. While living in the pop-up camper for 7+ months, there was never any consideration of bringing it along for the ride. Space used to be so limited, but not anymore with our new RV!
On our recent side trip from Yuma to Atlanta, we eliminated our storage unit and brought back with us a few key things. This stash included skis, a snowboard, snowshoes, kitchenware, and yes, my sewing machine.
But the first order of business wasn’t a new skirt or handbag. It was something much more practical: curtains.
You might wonder why a brand-new RV would need any sort of upgrade so soon, but the window coverings have been pissing us off since day one. You’re probably familiar with the type of blinds I’m complaining about here…the cheap roller shades that look like this.
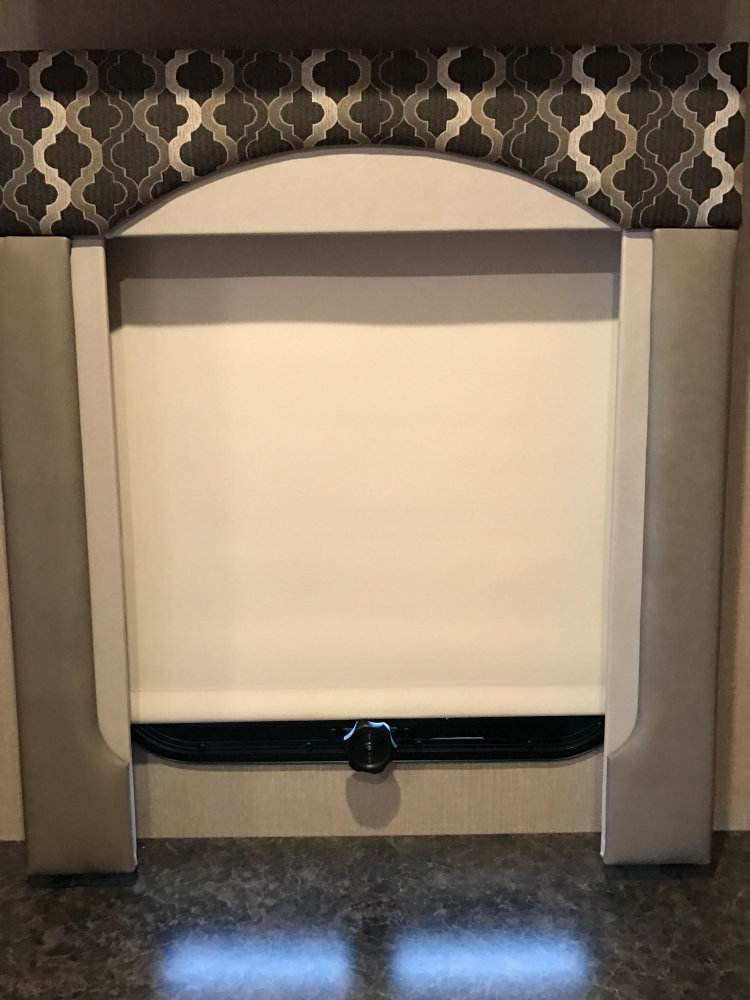 But that malfunction with every use and only go up about this far (if you’re lucky) after a dozen attempts.
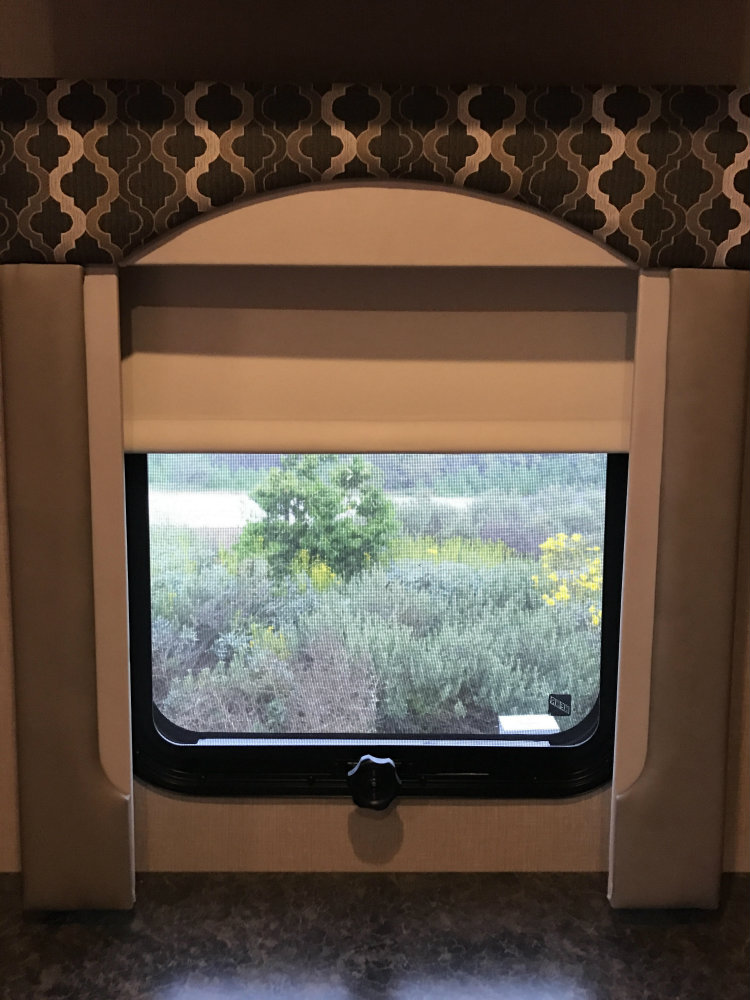 One of my favorite things about the new RV is how many windows there are and how much natural light comes in. Every morning when I wake up, I love to open the blinds and look out at the view for a few moments before getting up to start the daily routine of yoga/breakfast/work. Mornings would be even more pleasant if those impossible blinds were replaced by user-friendly curtains that added some character to our new home as well.
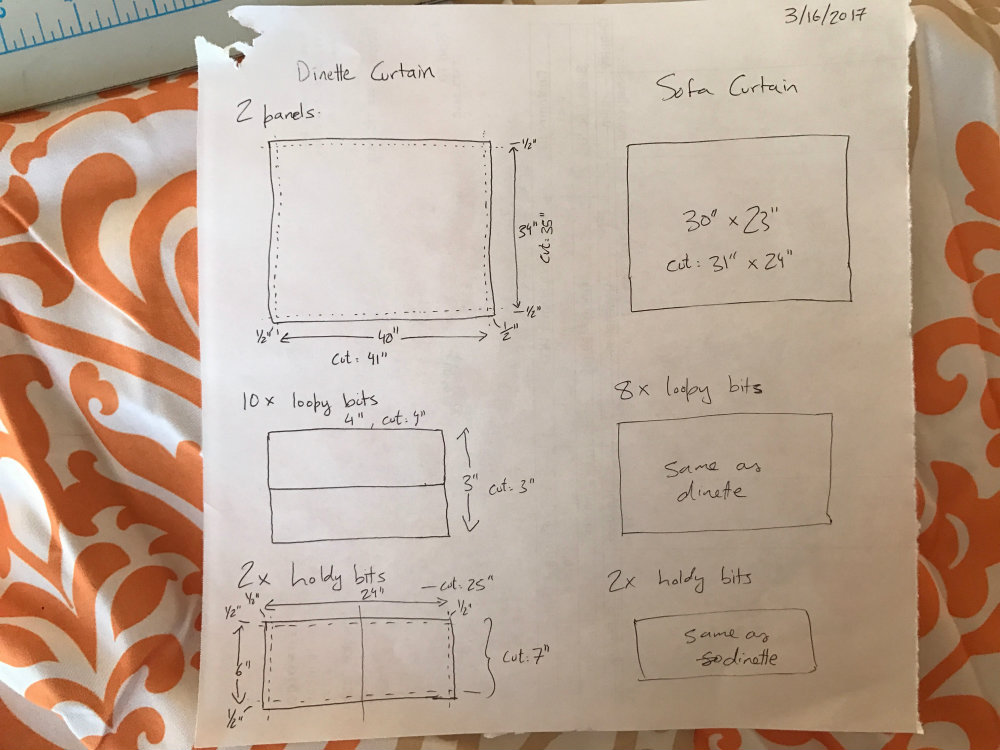
While sewing is “my thing,” creating patterns is not. My spatial skills are subpar, and I have an incredibly difficult time figuring out how to come up with a pattern from scratch. The husband, on the other hand, excels at these sorts of things and never fails to remind me about it. He has also finally accepted the fact that I don’t do “sewing speak” and prefer terms like “loopy bits” and “holdy bits” over stuffy technical terms.
Here are the patterns he came up with to design curtains for our office and living room.
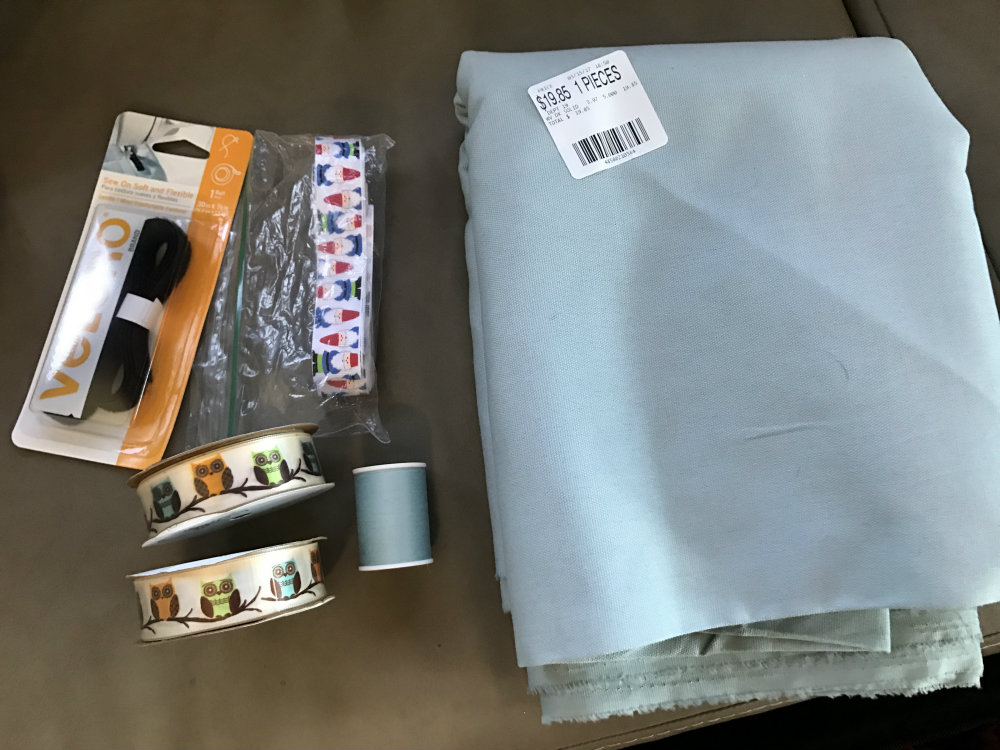
 The next step was to shop for materials. Convenient fabric stores were very limited in the area we were camped in while attempting this project, so we had to make the best of what we found.
I wasn’t terribly excited about this fabric (plain, light blue, cotton blend), but it was the best option available without making a big hassle over it. Besides, who knew if the curtains’ first attempt would even turn out? It was also a challenge to find something that wouldn’t clash with the overhanging interior fabric that came with the RV.
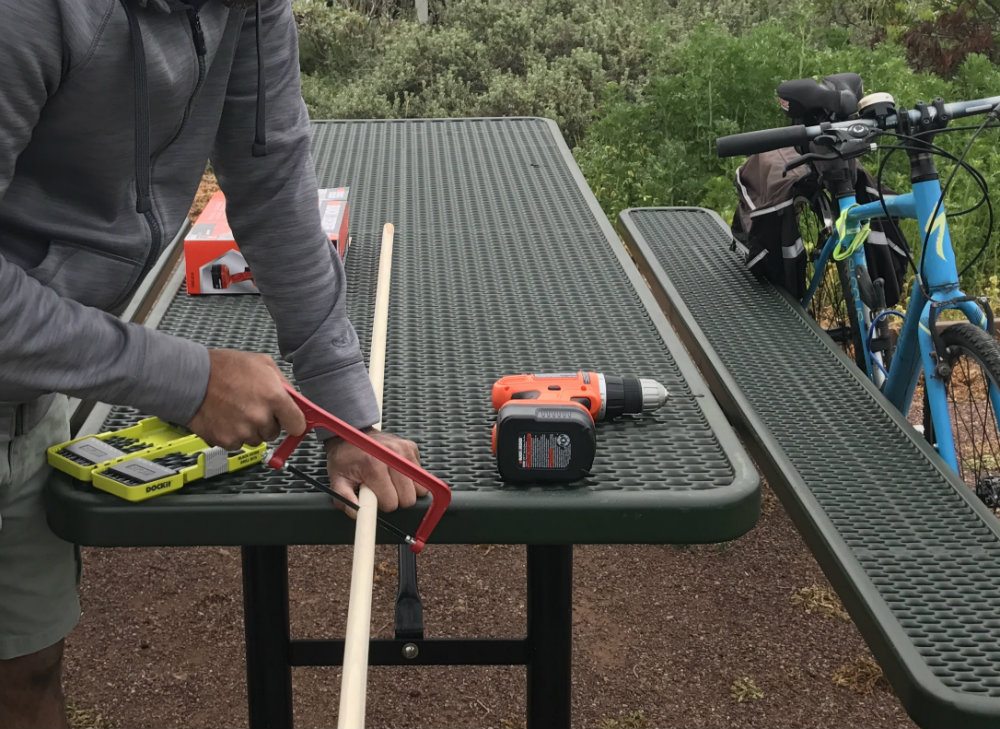
 The next step was to make the curtain rod. We picked up a cheap wooded stick at Home Depot and sawed it off to size. This was one of the husband’s part of the project. He also bought a fancy new drill to drill the hardware into the rod to hang it in the window frame. There’s no such thing as a workbench while living on the road, so he made do with a picnic table.
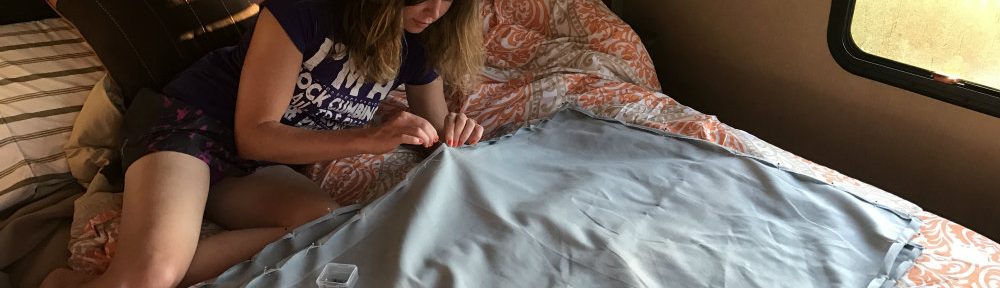
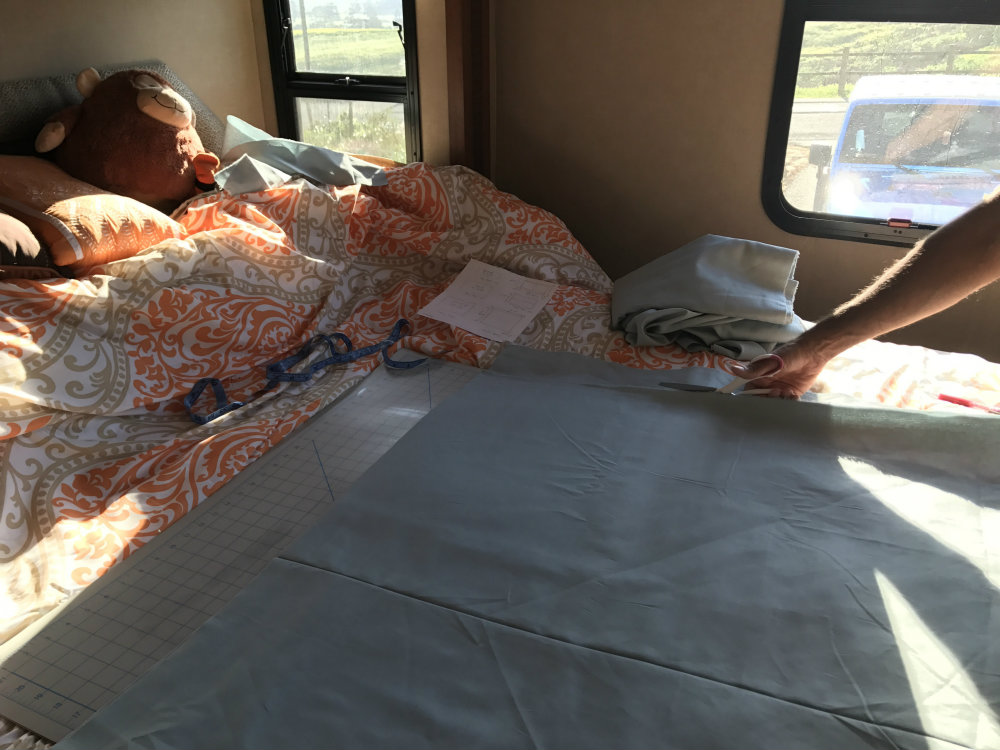
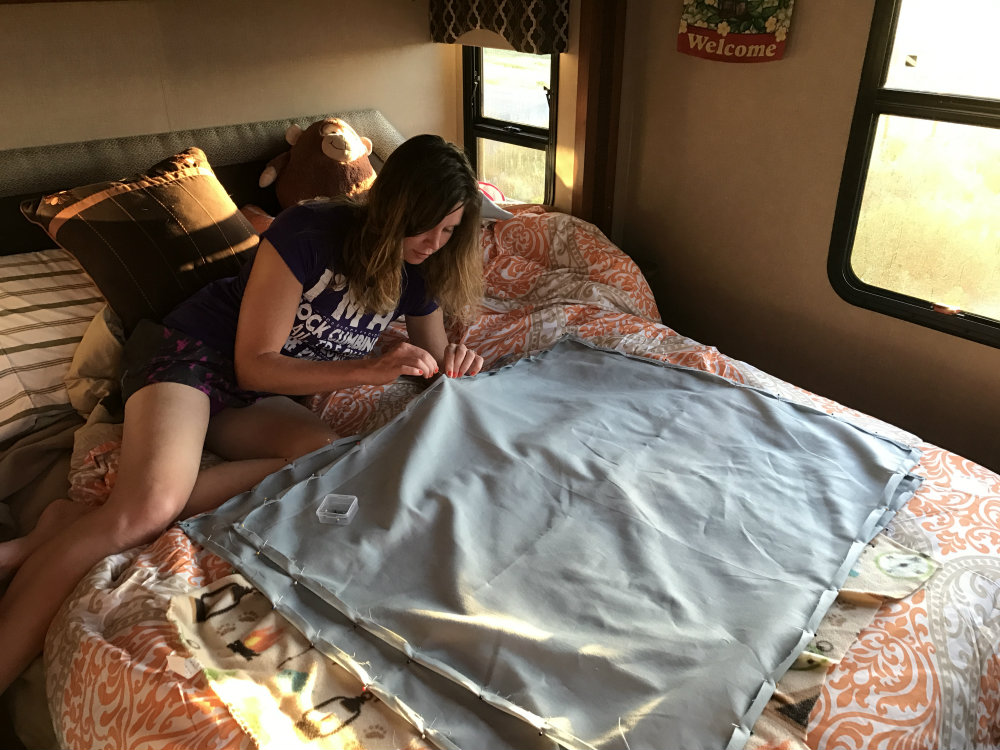
 After measuring out the fabric, it was cutting time. Again, large tables are in short supply in camper life. The largest clean space in the RV was the bed. So we placed an X-ACTO mat that we’d also retrieved from the storage unit onto the comforter and started whacking away.
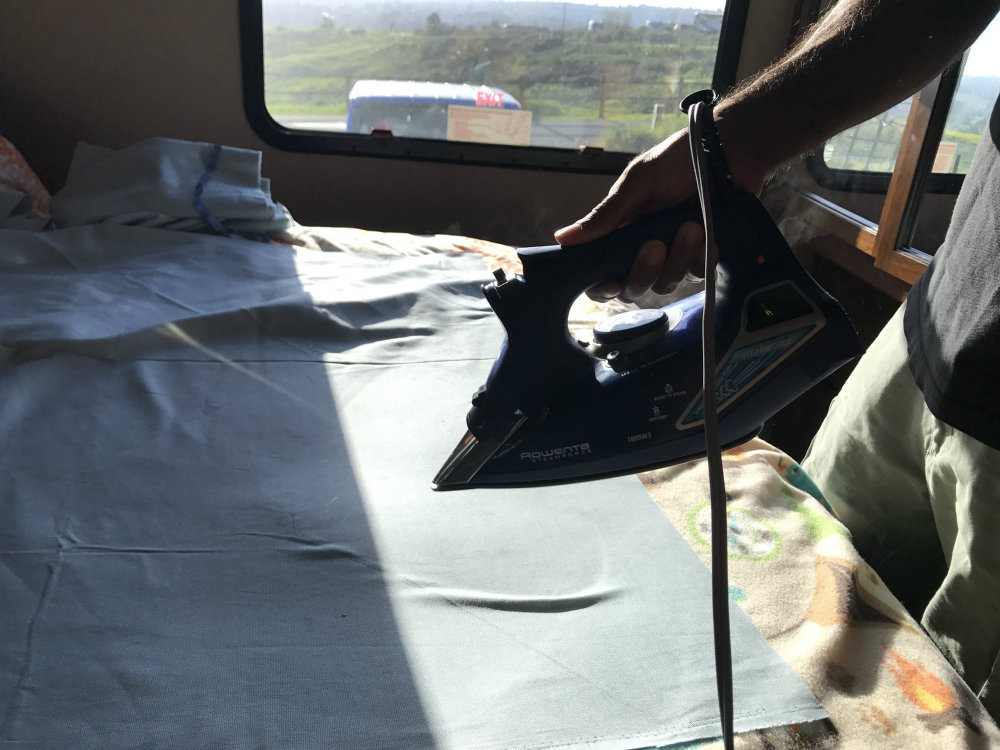
 Fortunately, I’d also remembered to grab the fancy iron that my mom gifted me with last Christmas from the storage unit to bring along on our journey. Initially, I used a fleece blanket between the curtain fabric and the X-ACTO mat. But that was a stupid choice because the fleece got stuck to the iron when it touched the edges and had to be scraped off after cooling.
The next time around, I just put down a bath towel as makeshift protection. It’s not ideal and any real seamstress would just die seeing this, but I got a couple hard creases out didn’t start any fires!
 Next came the pinning stage to create hems around the curtains. I flipped on the bedroom television for some pinning entertainment and tuned into dramatic soap opera on the one Spanish channel that was coming in through the antennae.
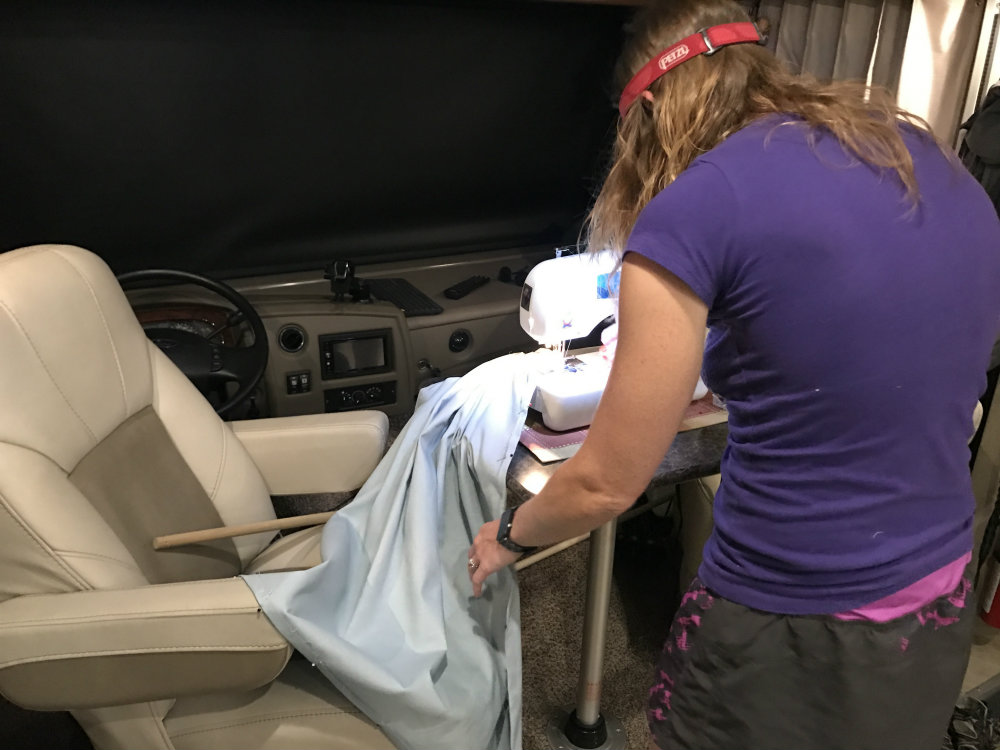
 Now here’s where the real fun began. None of the table/chair surfaces in the RV are very conducive to sitting down with a sewing machine, so I decided to stand. I used the little table between the driver and passenger seats as my base and hunched over to make it work. Fortunately, my back hasn’t yet suffered the effects of aging. But this may be the thing that takes it over the edge!
 Of course, the sewing machine jammed a few times and I had to use a seam ripper to fix my mistakes. Sewing is never easy, and it’s even more challenging when you’re out of practice.
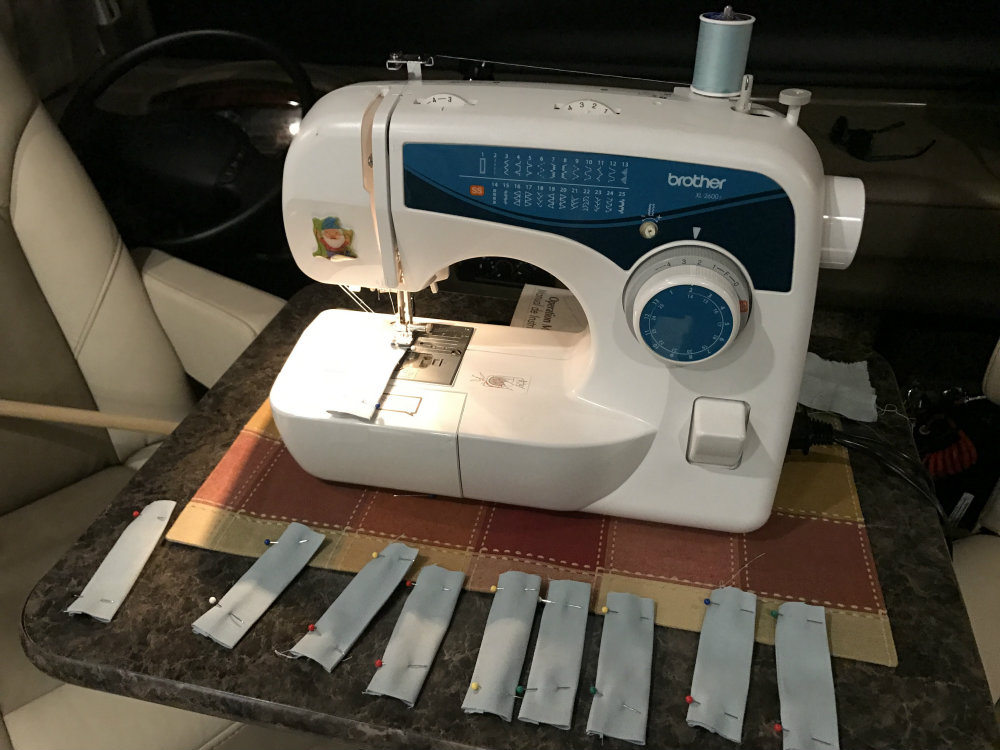
In addition to sewing the big rectangles, there were also the loopy bits that go around the curtain rod, the hangy bits that tie the curtains back, the Velcro to make that stay, and the border at the bottom.
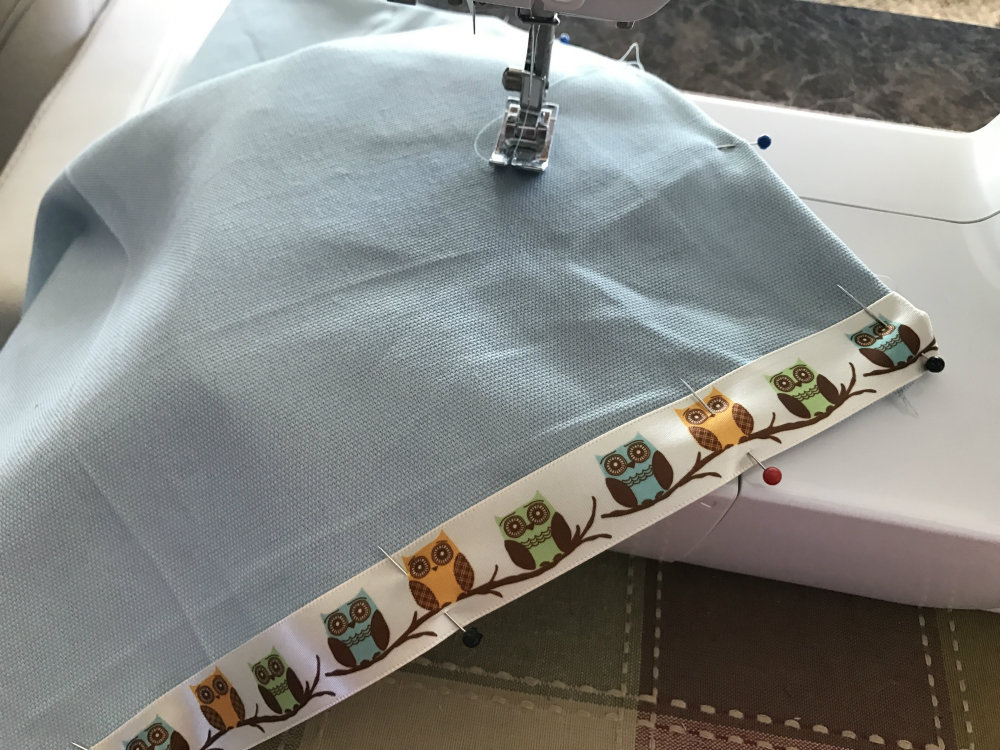
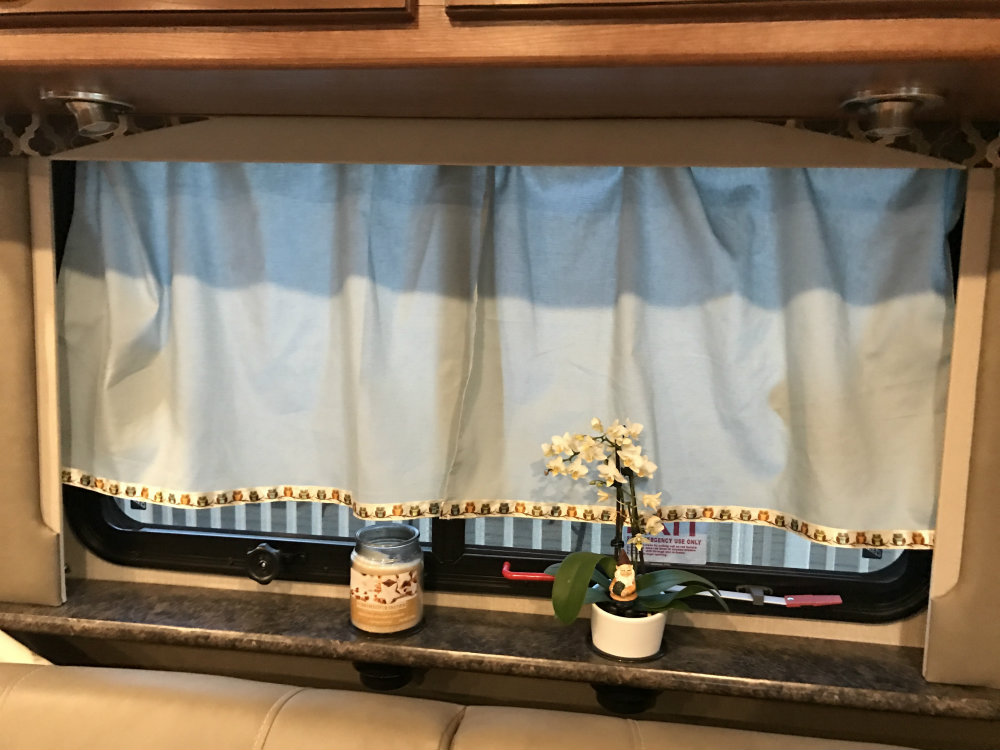
 Although the color and style of these curtains is not the least bit exciting, my favorite part of these curtains was the bottom trim. I picked out this owl border because it matched and because creatures are fun. My mom used to collect owls, so I think she’ll get a kick out of seeing this when she visits us soon.
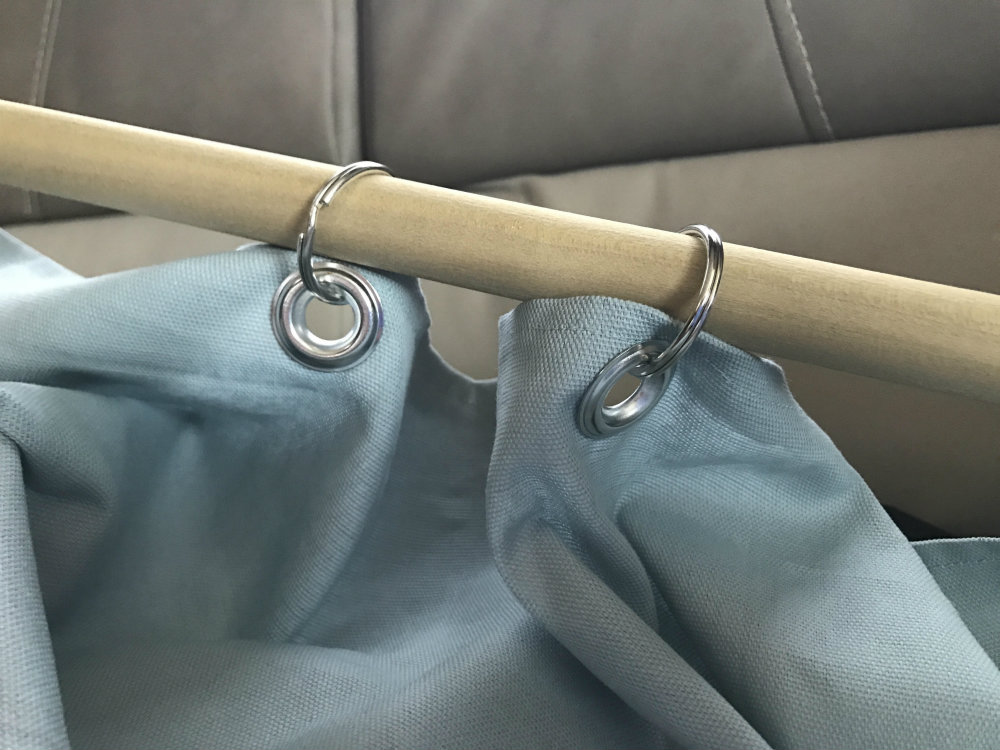
 Ultimately, we decided that loopy bits around a curtain rod were not ideal because they wouldn’t scoot across well. So instead, we picked up key chain rings at a craft store and attached them with grommets. This gave the curtains a shower curtain-feel, but none of that actually shows up anyway the top. And besides, the grommet/ring strategy meant easier scooting and less sewing for me!
The process of making new curtains took several hours on a few different days, which was longer than I ever expected it all to take. In the end, the curtains certainly aren’t perfect (somehow the living room curtains ended up too short?) but they are DONE, and they are thick enough to block the sun and deter peeping toms. That’s really the whole point, right? Thankfully, I’m no perfectionist.
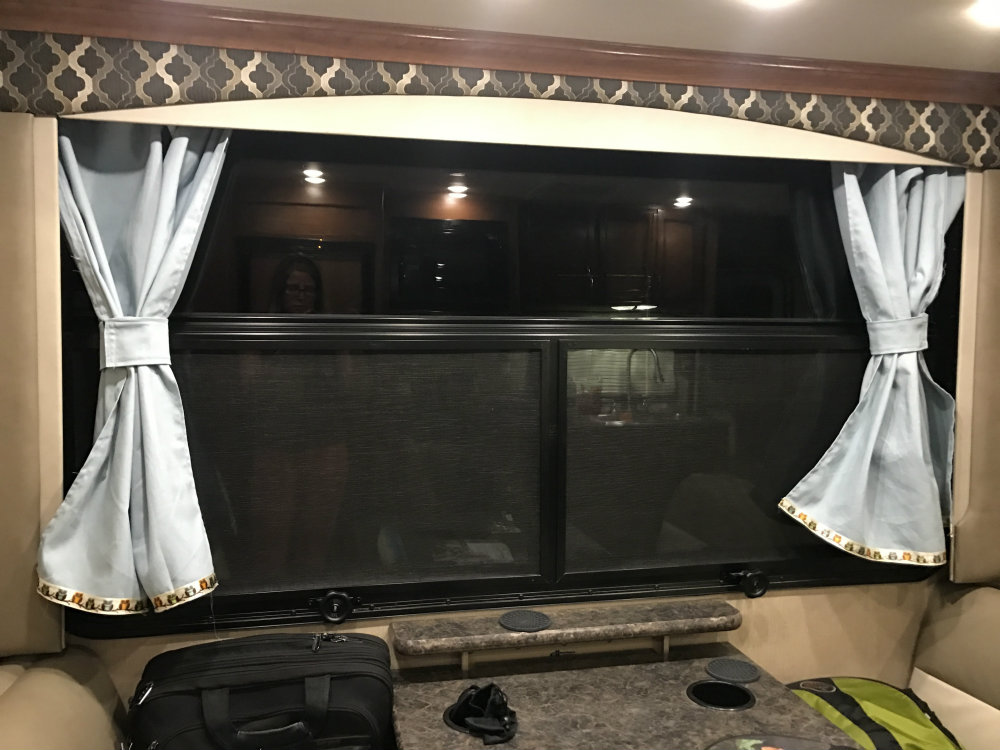
 The office curtains ended up being just the right length though. Here’s a shot of them pulled back with the Velcro ties.
 After all this work, I’m in no rush to tackle the bedroom windows. But maybe someday.
Even with all the hassles and headaches of working on arts and crafts, these types of projects take my mind away from the routines of work and travel planning. Crafting doesn’t come naturally to me, and it’s always an uphill battle. But after the projects are done, I can appreciate the way they make my brain work and laugh about the finished project, while feeling a little bit accomplished at the same time.
With my sewing machine now back by my side, I also feel a bit more grounded…like I’m living a “normal” life instead of a transient one on the road. There’s a balance there that touches on pursuing hobbies without standing still. I never seriously considered putting much DIY work into our old pop-up camper. I loved it, but it always felt a bit temporary. Meanwhile, this new place of ours feels like home.
I’m not sure what my next DIY RV project or craft idea will be, but you’d better bet it’ll be moderately crappy, terribly frustrating, and absolutely awesome.
Thanks for sharing, Alyssa!
Your frank- yet humorous- reflections about your experience sewing curtains for your rv were refreshing to read. Cheers!
Hope all is going well for you and yours 😊
Thanks so much for your comment, Cory! This was great practice. We now have a house and made curtains for a few rooms in it. We also have a new travel trailer camper too that has those annoying pull-down shades and I want to make curtains for our new camper too…hopefully with minimal drama and only a few tragic errors LOL!