In an effort to keep the creative side of my brain active during long stretches of road, I decided to write a poem every day (or so) during my last road trip. Short stories take too much time, blog posts become tiresome after awhile, and my Facebook friends don’t care to read every thought going through my head.
To keep things simple, I settled on the haiku and the limerick for poem structures. Let me take you back to junior high creative writing class for just a moment. A Haiku revolves around that odd 5-7-5 syllable structure, juxtaposes two ideas, and throws in a seasonal reference. Limericks have a five-line AABBA rhyme scheme and tend to be on the ridiculous side.
Without schooling you any further, here is my collection of road trip poetry…categorized by city and state. (Reader hint: each paragraph is its own poem!)
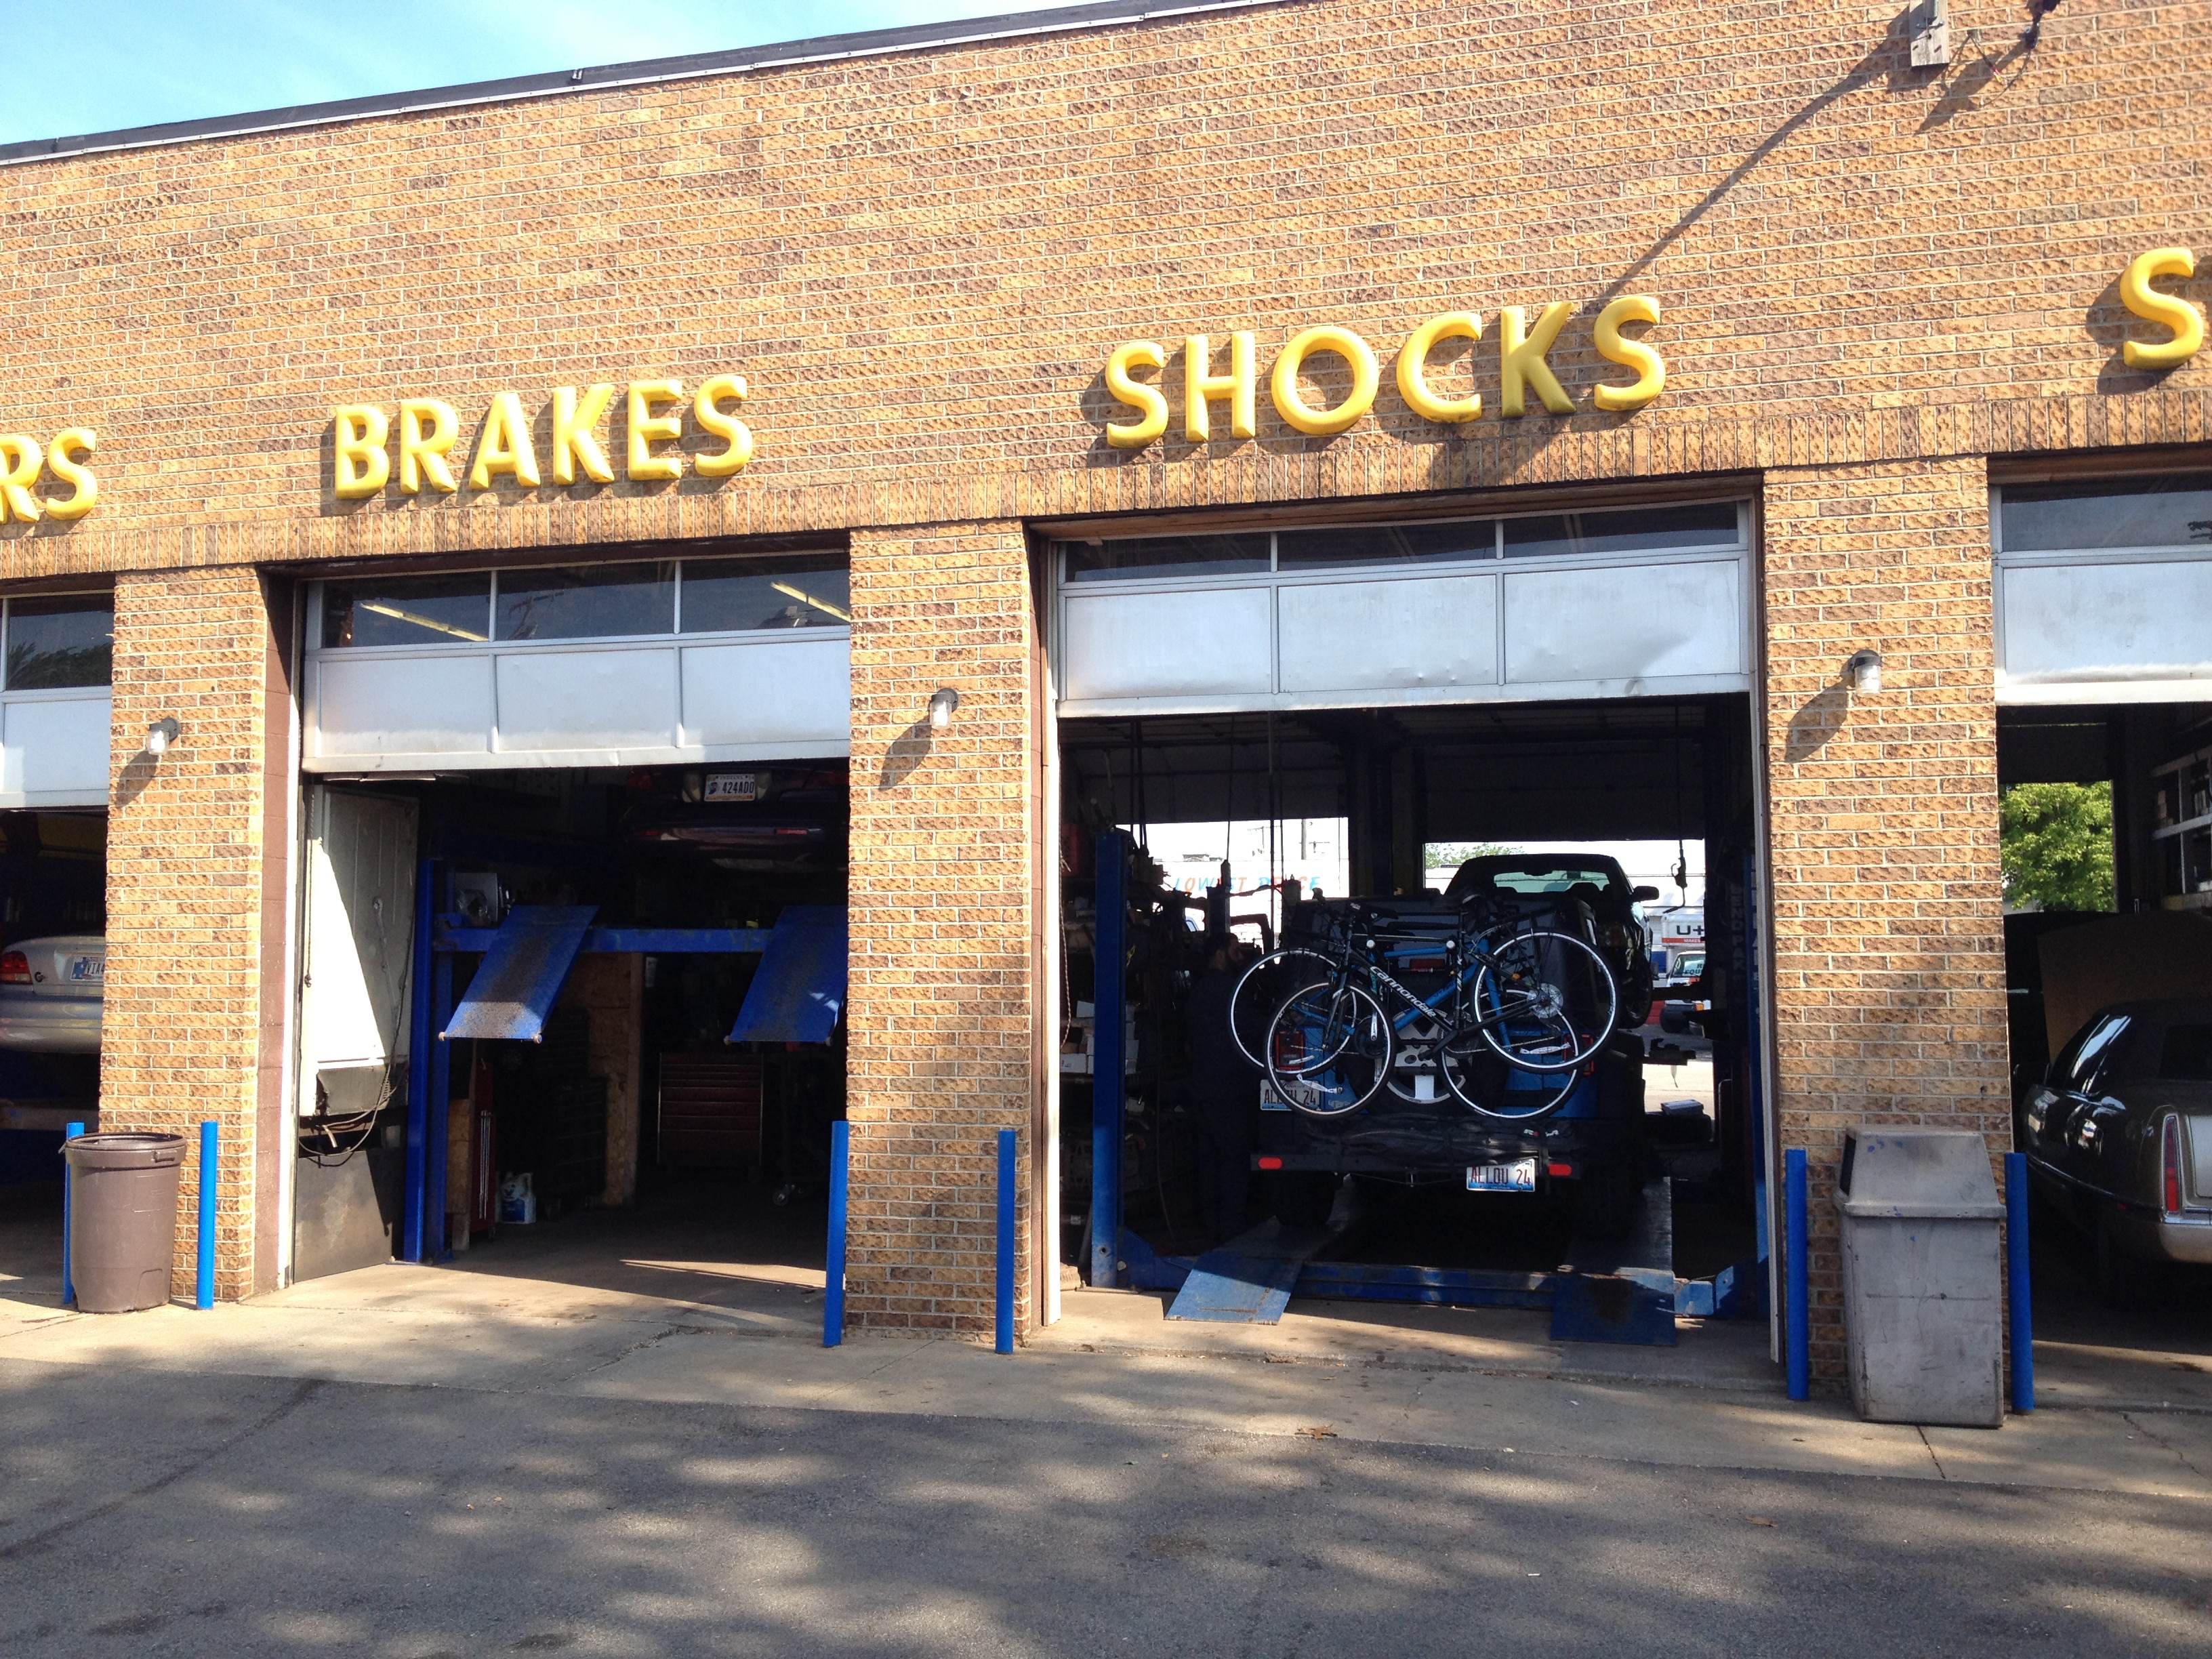
Michigan City, Indiana
Jeep in the service bay
On the way to Maine today
Engine light cleared
There once was a gnome driving a Jeep
“The engine light’s on!” he exclaimed with a squeak
Mechanic found a hose was bent
Toronto, Ontario, Canada
Bare butts everywhere
Sketching by bikes in the sand
Monkeys on a beach
There once was a monkey from Toronto
I was traveling and he asked, “Hey, can I go?”
We biked through the sand
He said, “I’ll be damned!”
‘Cause that beach required no clothes!
Indian market
Beetle leaves and ice cream cup
Can’t find magic fruit
Toronto traffic
Reminds me too much of home
“Squeeze left,” a sign says
A girl was biking to Scarborough Bluffs
She rode a long way and had enough
Locked her bike to a tree
And scraped up her knee
Falling off the edge feels pretty tough
Montreal, Quebec, Canada
Campfire burning
Old guitar songs sung in French
Sun sets later now
Biking to Mount Royal
Quiet amidst the chaos
Brakes screech, tires swerve
Fine arts museum
Windy day in Montreal
Textured canvas paint
Grand Isle, Vermont
Citronella light
Illuminates ferry boats
Mosquito bites itch

South Hero, Vermont
Roadside antique store
Crafts and creatures on the shelves
Windy twisty roads
There once was a man from South Hero
Where the population’s practically zero
He shopped for antiques
‘Til his bike started to squeak
And he skidded right off the pier. Oh no!
Vineyard concert night
Locals drink and dance along
Sun sets on the vines
There once was a band that played covers
The vineyard lawn full with blankets of lovers
The drummer drank too much wine
Ate some raw grapes off the vine
And was carried off stage by his brothers
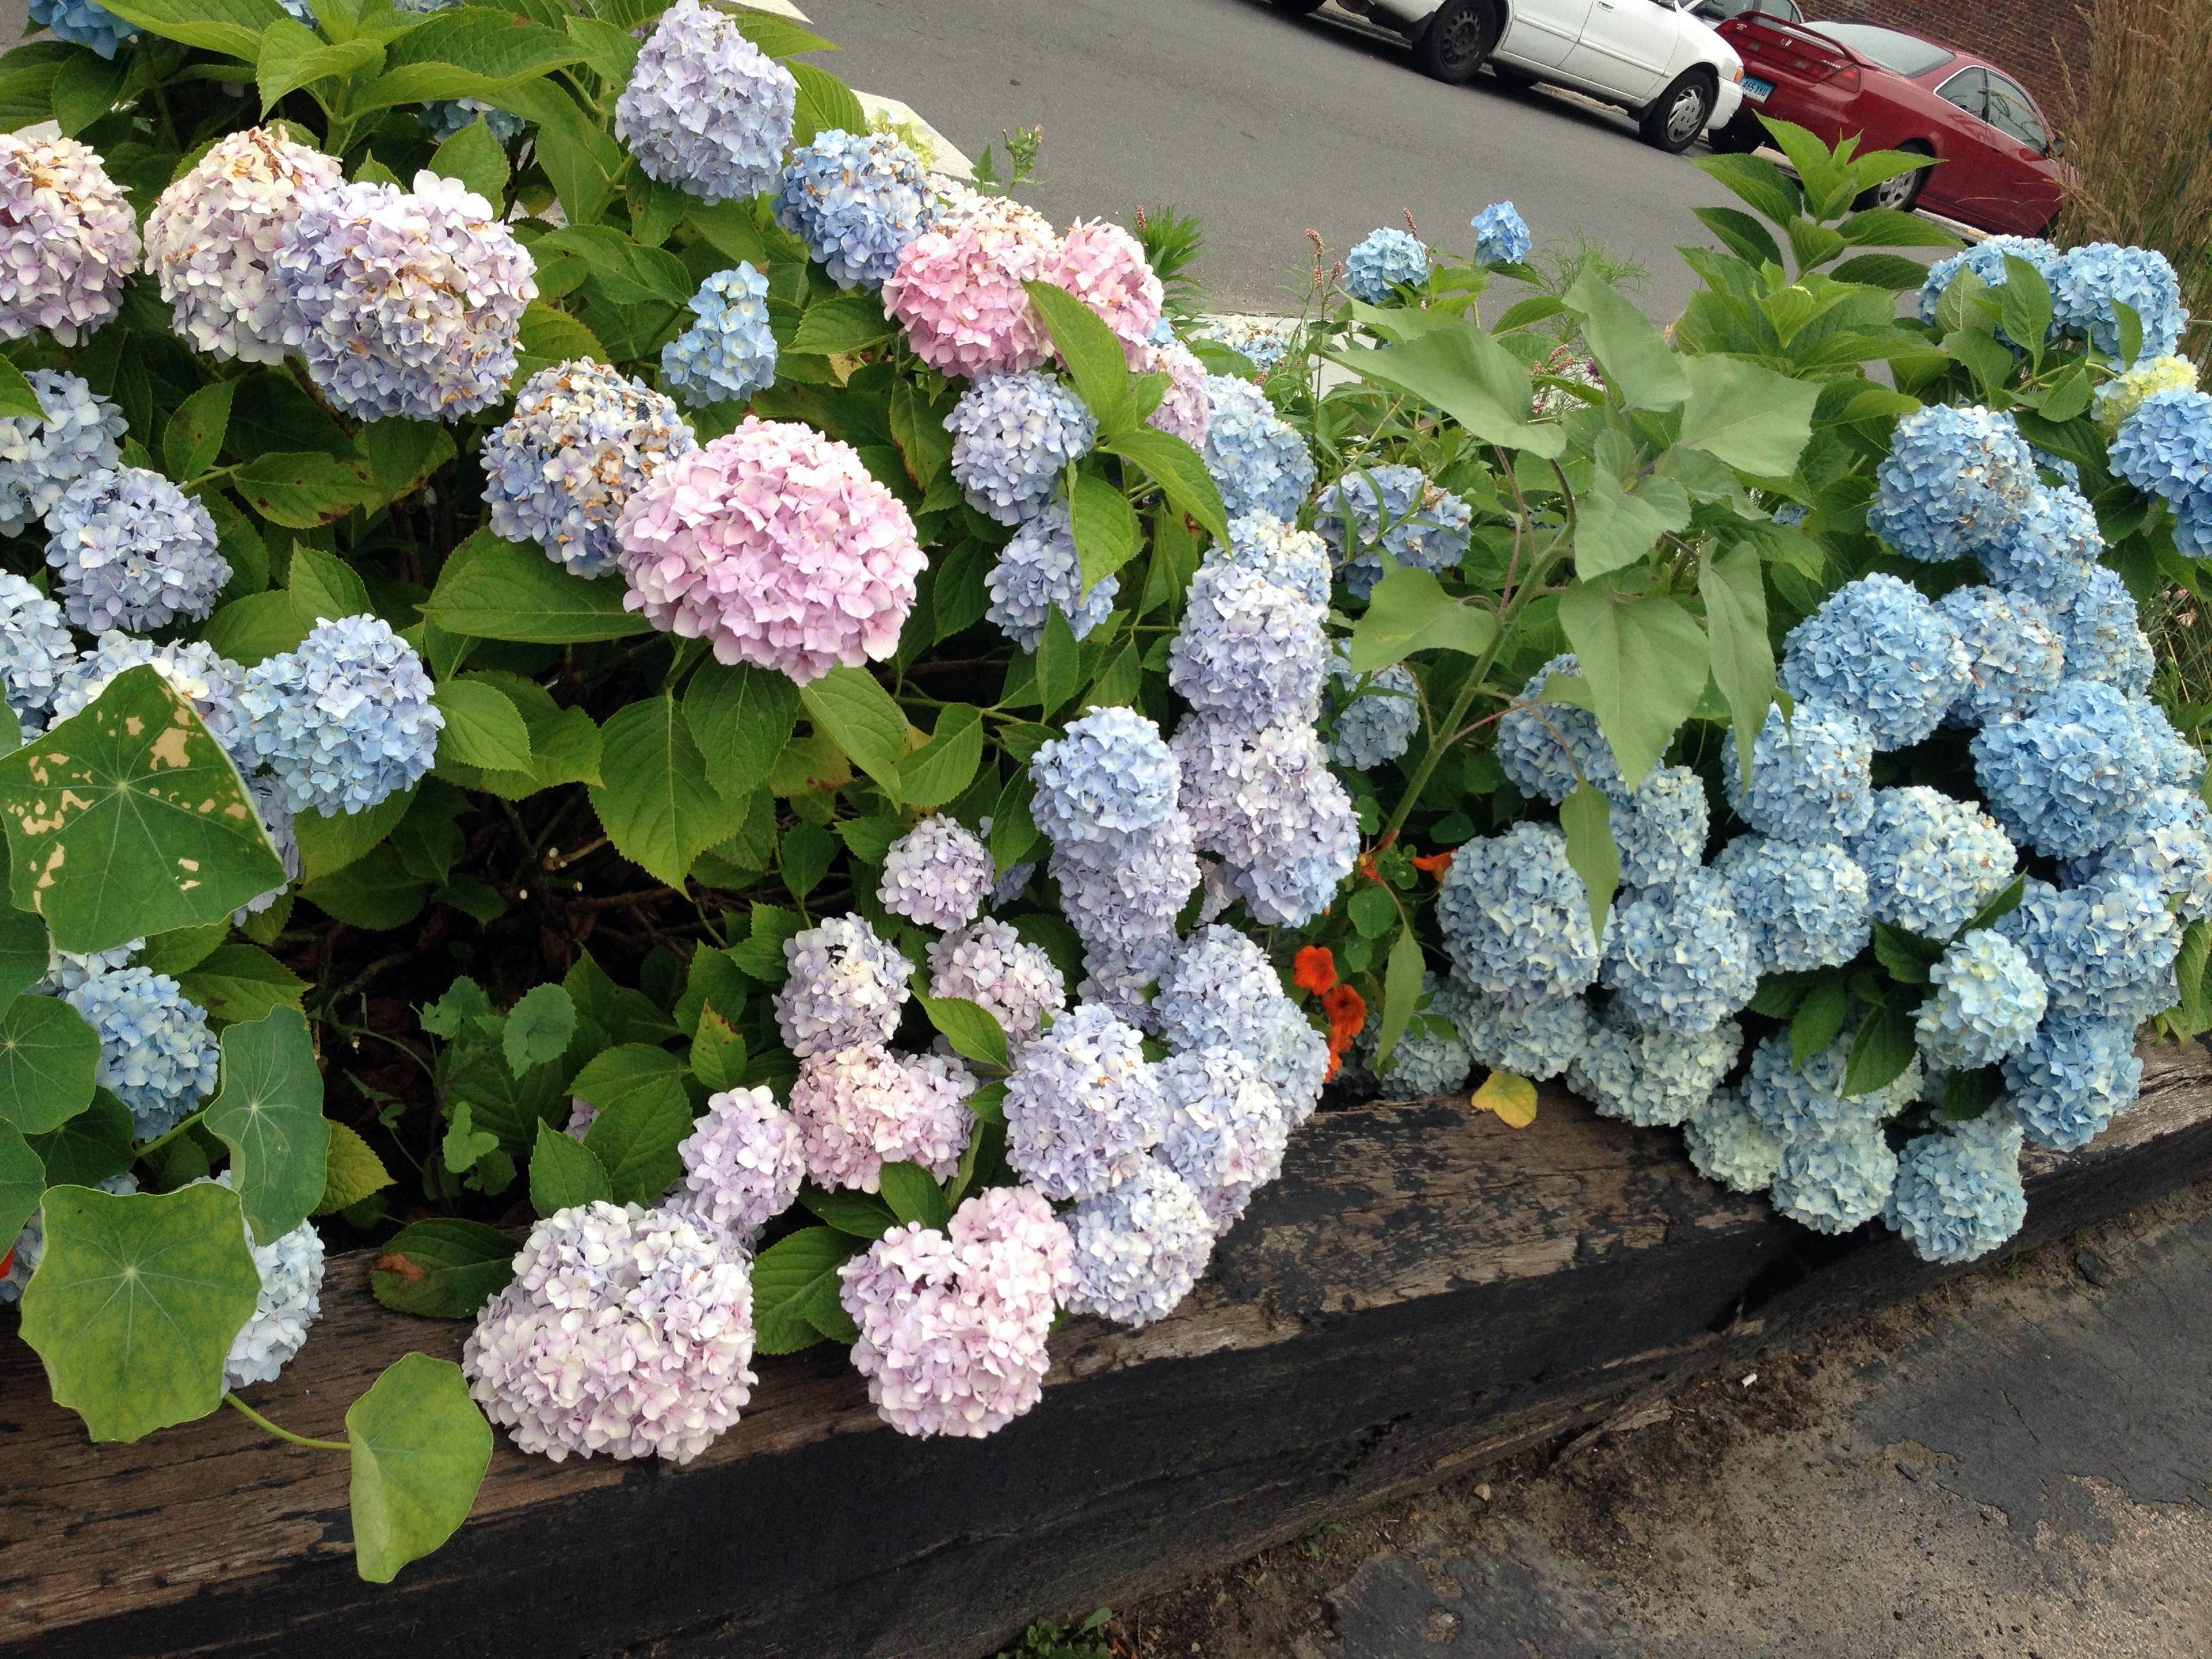
Waterbury, Vermont
Vermont tasting day
Cider, cheese, chocolate, ice cream
Rain makes trees greener
Twin Mountain, New Hampshire
Tensions in the air
Tear drops fall like pouring rain
Let’s go get Thai food
Cold beans in a can
Styrofoam instant noodles
Sleeping bags are damp
Rainy campground day
Clothes swirl ’round the washer
Bad TV plays on
KOA pizza
Sketching by campfire light
Internet goes out
Toes dipped in the pool
Soothes itchy ankle bug bites
Dark clouds rolling in
Stir crazy working
Caught up and getting ahead
Rain motivation

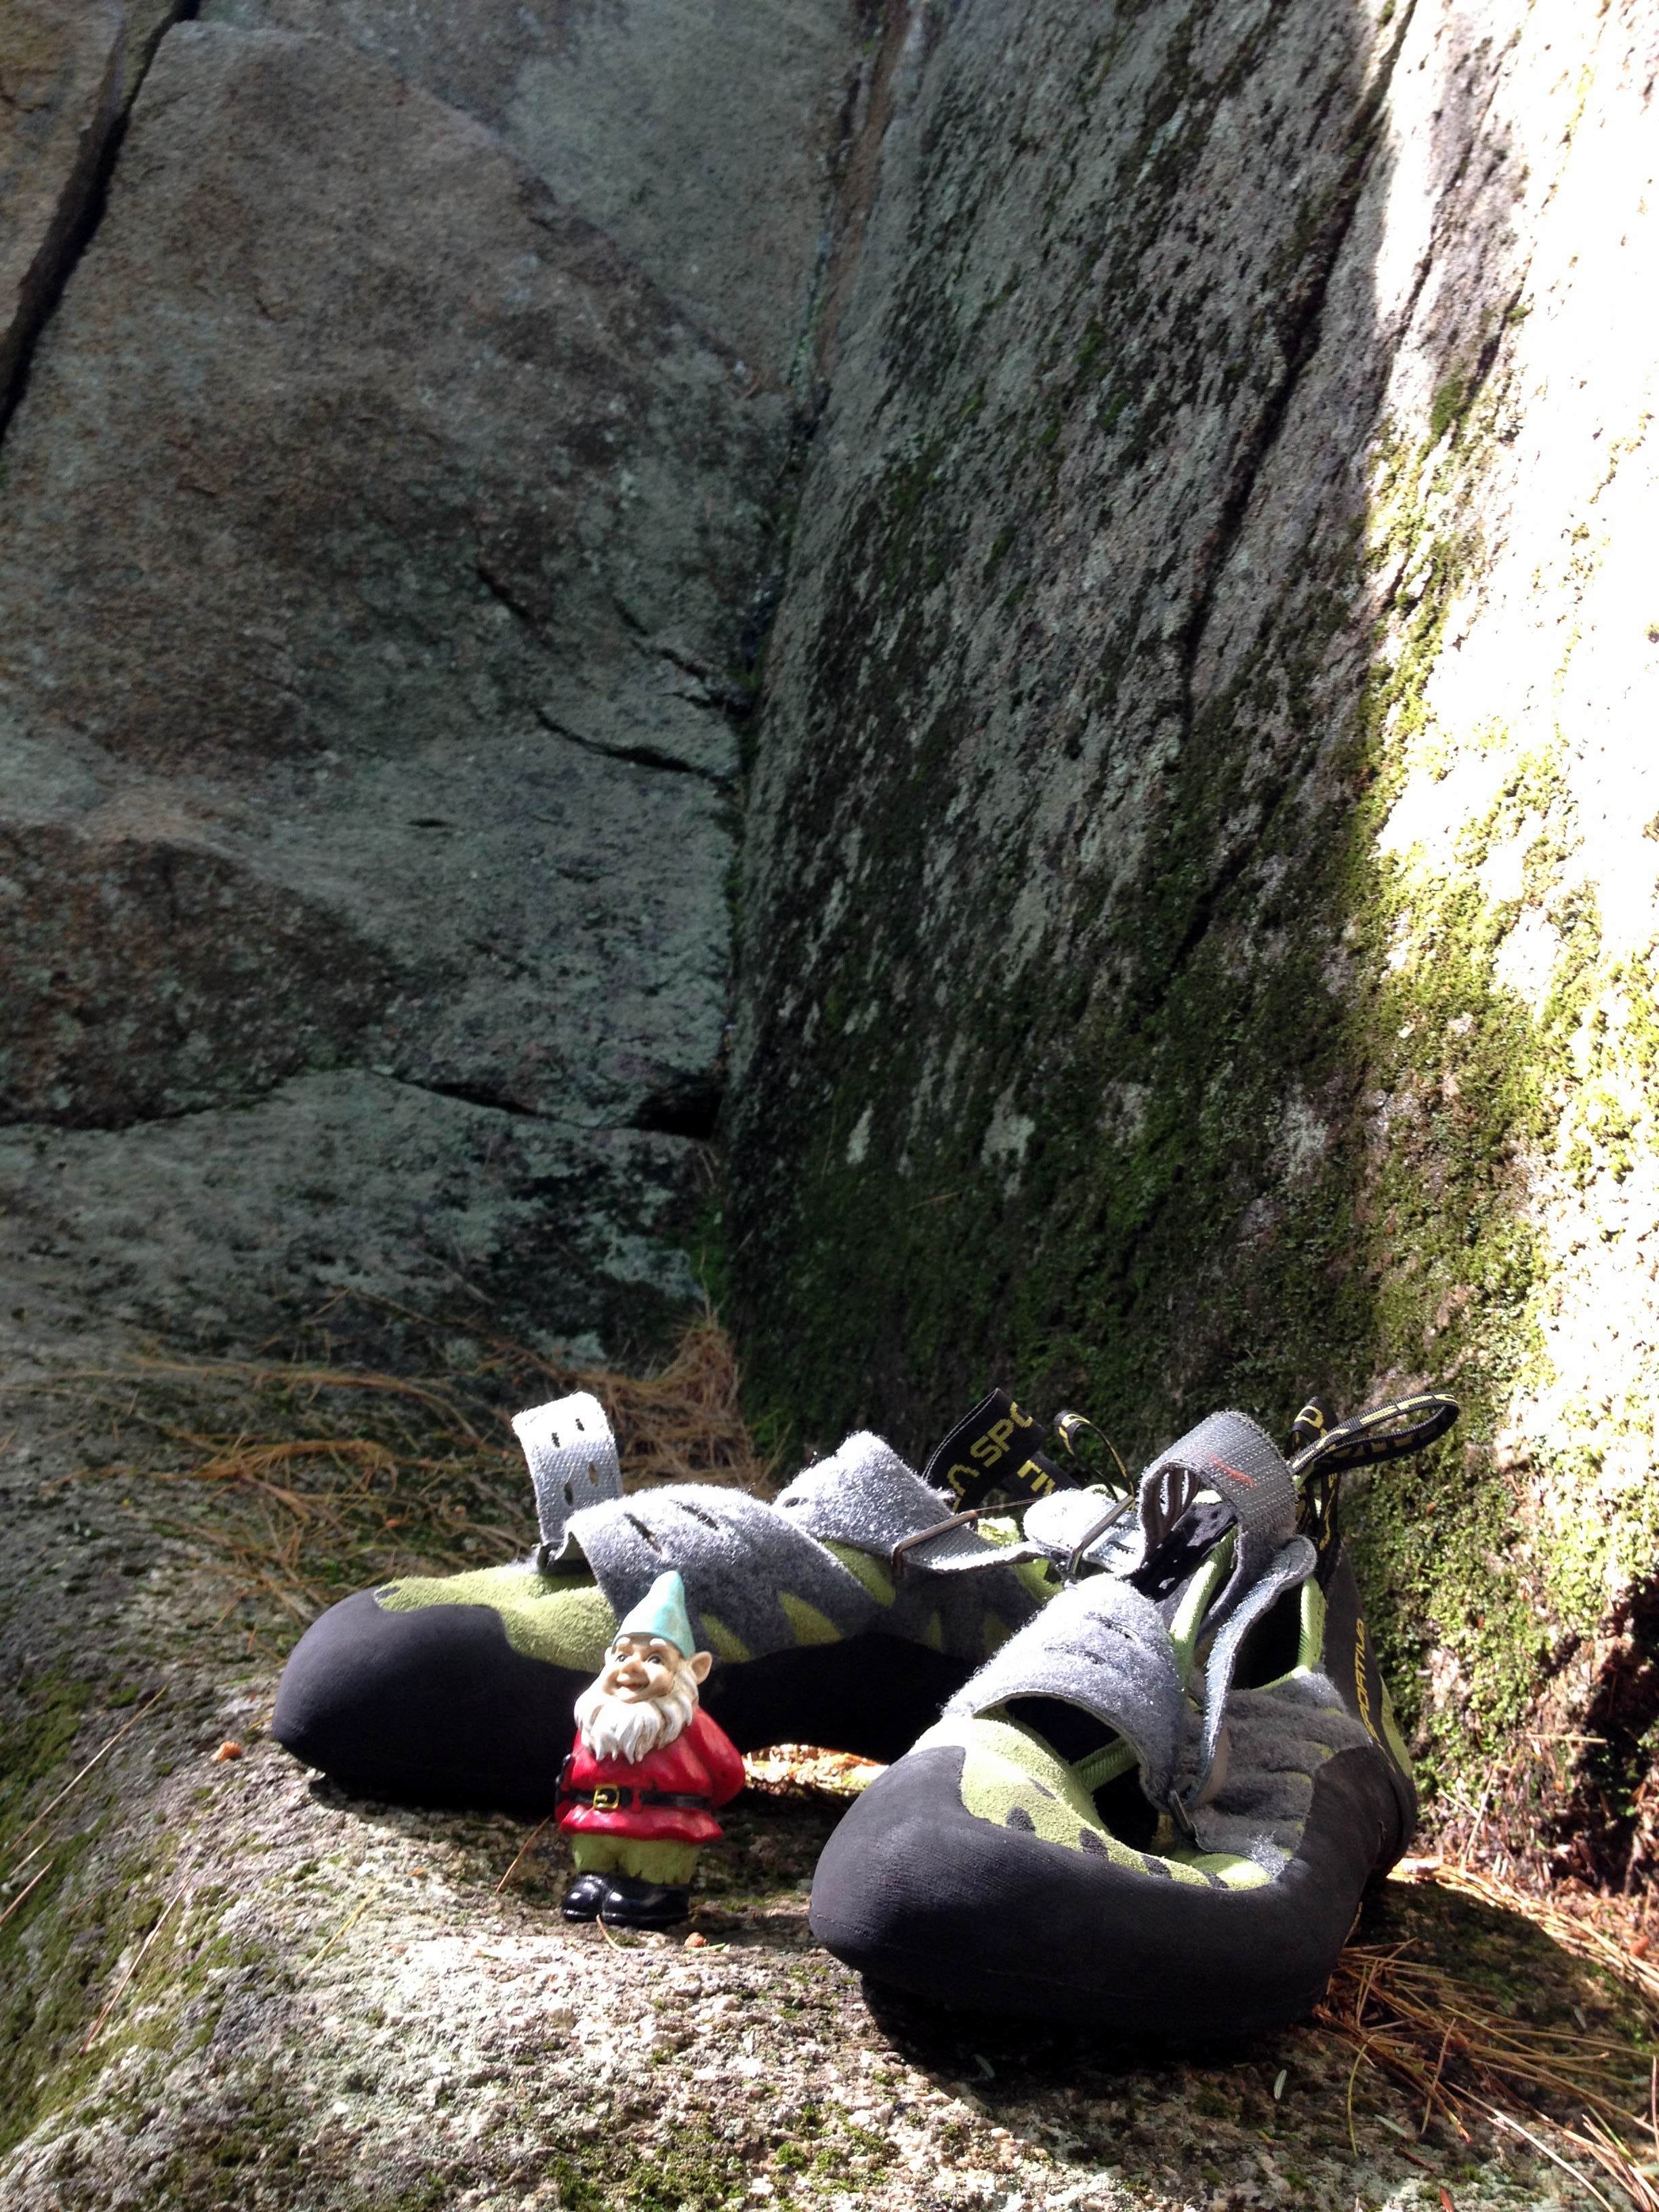
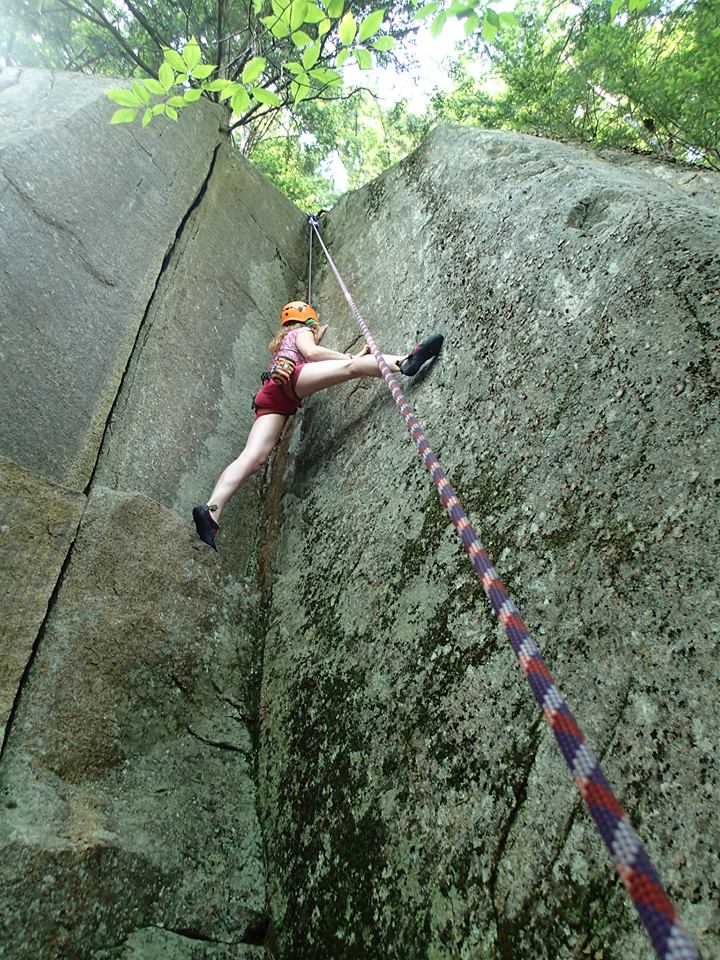
North Conway, New Hampshire
There once was a climber from North Conway
He searched for good routes all day Monday
Finally set up some climbs
Mostly 5.8s and 5.9s
A bit scraped and sore, but he’s doing okay
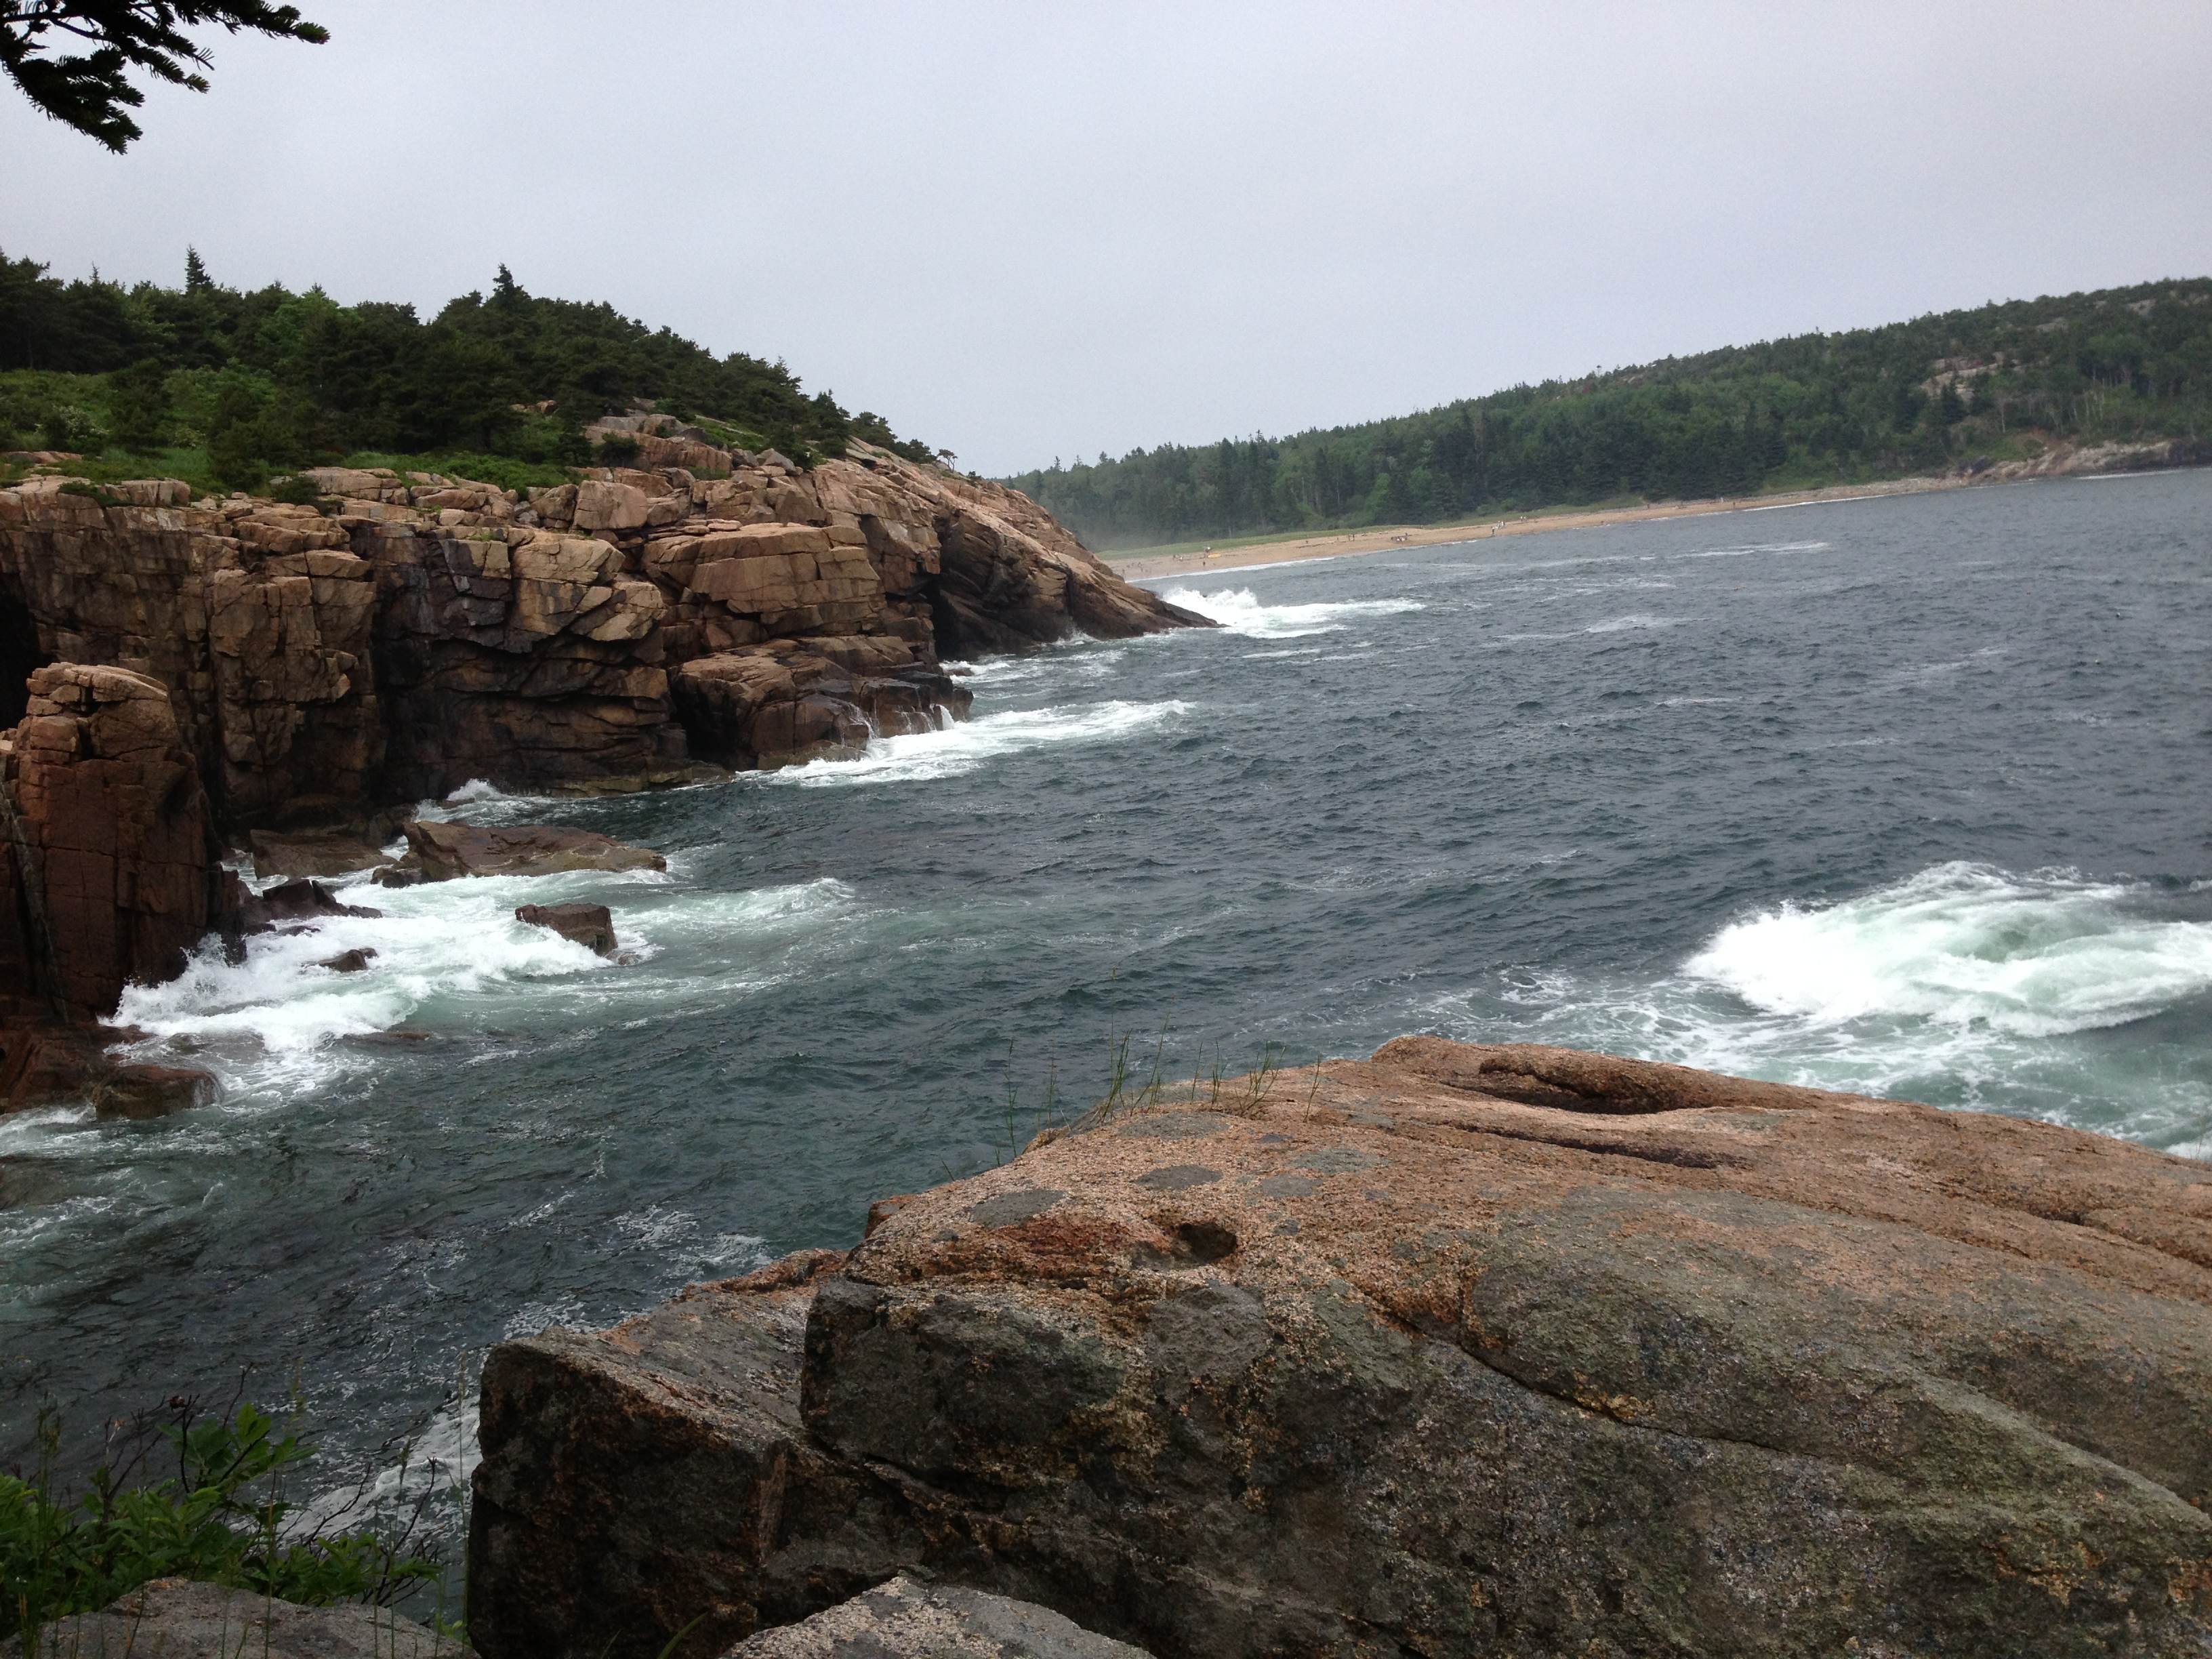
Bar Harbor, Maine
Lobster between bread
Clam chowder and blueberry pie
Rainy day delight
There once was a moose from the state of Maine
He crossed where he wanted, which felt like a game
He ignored the road signs
Was ticketed for his crimes
‘Til he was put behind bars. What a shame!
Lighthouse on the cliff
Bell rings and red light flashes
“Click” goes the shutter
Calm breeze makes ripples
Water droplets splash my skin
Kayak on the lake
Firewood burning
Embers travel toward the sky
A hole in my shoe
Swollen drippy eye
Fishes take revenge on me
Shellfish allergy
Waves crash on the shore
Wind and flies test my balance
Yoga on the rocks
There once was a mosquito from the Harbor of Bar
I swatted him away, but he didn’t go very far
Felt him land on my skin
Sucking blood out again
Screw the tent – I’m sleeping in the car
There was an old hag at the campsite next door
Her dunkies would cry, and she’d scream some more
Tossed a burning log in the air
Bowed my head, said a prayer
Now all I hear are waves on the shore
Parade candy thrown
Lobster races to my gut
Fireworks so bright
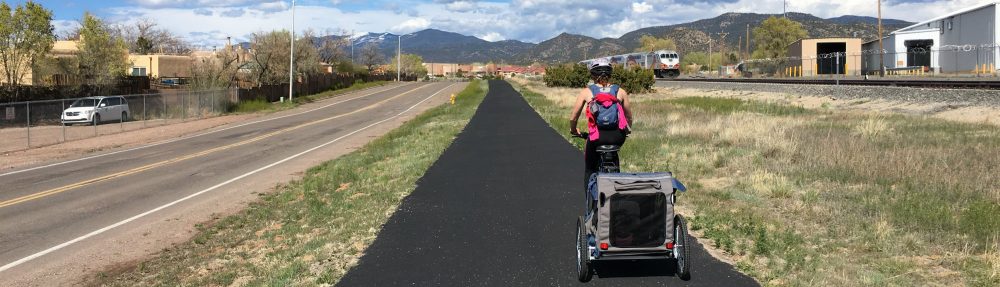
Shift gears up the hill
Wipe the sweat, pedal faster
Cycling carriage trails
Gnomeless antique shop
Rusty junk out in the rain
Creepy man peers out
There once was a sand pail on Sand Beach
It used to make castles, now tangled in seaweed
Someone left it behind
Swept away by the tide
Rake and shovel too far out of reach
Portsmouth, Rhode Island
Chicago to Maine
Many stops along the way
Camping from a Jeep
THE END